

If you’ve ever watched a polished YouTube tutorial or a well-timed corporate video and thought, “How do they read a script without breaking eye contact?” you’re not alone. The best teleprompter for video creators isn’t just about scrolling words on a screen. It’s about keeping your delivery natural, your pacing smooth, and your audience engaged. Whether you’re recording a quick tutorial, hosting a live stream, or filming a multi-camera setup, the wrong teleprompter can make your performance feel stiff, robotic, or worse, like you’re reading instead of speaking.
So how do you choose the right one? The answer depends on your workflow, your budget, and how much gear you’re willing to carry. Let’s break down the three main options,built-in hardware, external hardware, and software solutions,so you can pick the setup that keeps your scripts flowing and your eyeline locked on the camera.
On-camera teleprompter vs software: Which keeps your eyes where they belong?
At the heart of the teleprompter dilemma is a simple but critical question: Where are your eyes? If you’re reading from a piece of paper off to the side, your viewers will notice. If you’re staring at a tablet on a tripod beside the camera, you’re still breaking contact with your audience. The best teleprompter solutions solve this by letting you read while looking directly into the lens.
A physical on-camera teleprompter uses a beamsplitter, a piece of glass that reflects your script while allowing the camera to see through it. You mount it in front of your lens, place a tablet or phone behind it, and read the reflected text while maintaining perfect eye contact. It’s the gold standard for studio interviews, corporate videos, and high-end YouTube productions where professionalism is non-negotiable.
Software-based solutions run on your computer or phone. They’re lightweight, affordable, and easy to set up, but they come with a trade-off: your eyes may drift slightly away from the lens. Some mobile apps, like JukoPrompt, counter this by letting you position the scrolling text block right next to your front-facing camera. That small adjustment can make a huge difference in how natural you appear on screen.
So which one wins the eyeline battle? It depends on your needs. If you’re filming in a controlled studio environment, a physical teleprompter is hard to beat. If you’re recording on the go or need a quick, portable solution, a well-designed app can get you most of the way there without the bulk.
Built-in vs external vs software: A side-by-side comparison
Not all teleprompters are created equal. Some are designed to clip onto your camera, others run as standalone apps, and a few blur the line between hardware and software. To help you decide, here’s a practical breakdown of what each type offers and who it’s best suited for.
| Solution Type | Eyeline Accuracy | Portability | Setup Time | Best For | Budget Range |
|---|---|---|---|---|---|
| Built-in Hardware | Excellent (reads through beamsplitter) | Moderate (requires mounting) | 10,15 minutes | Studio interviews, YouTube tutorials, corporate videos | $150,$600+ |
| External Hardware | Excellent (adjustable positioning) | Low (clips onto camera) | 5 minutes | Run-and-gun filming, travel content, live streams | $80,$300 |
| Desktop Software | Moderate (depends on camera placement) | None (stationary) | 2 minutes | Webinars, online courses, Zoom recordings | Free,$50 |
| Mobile Apps (e.g., JukoPrompt) | High (with text positioning controls) | Excellent (runs on phone) | 1 minute | TikTok, Instagram Reels, on-the-go creators | Free,$10/month |
The budget ranges vary widely because hardware solutions often require an upfront investment in mounting rigs, beamsplitters, and tablets. Software and mobile apps, on the other hand, can get you started for free or a small monthly fee. The key is matching the tool to your production style. If you’re filming in a single location every week, a hardware setup might pay off. If you’re constantly moving or filming short-form content, a mobile app could be the smarter choice.
When a physical teleprompter shines
Imagine you’re recording a 10-minute tutorial for your online course. You’ve got a script, a good mic, and a well-lit setup. But every time you glance down at your tablet, your eyeline drifts. Viewers notice that hesitation. They sense you’re reading instead of speaking. A physical teleprompter fixes that by letting you read while looking straight into the camera. No distractions. No awkward pauses. Just smooth delivery.
Hardware teleprompters also give you more control over text size, scrolling speed, and positioning. You can adjust the beamsplitter angle to match your camera height, and you’re not relying on a phone’s front-facing camera, which often has lower quality. If you’re filming in a studio or a dedicated workspace, this is the setup that feels most professional.
When software or a mobile app is the better fit
Now picture yourself filming a quick TikTok or Instagram Reel. You’re outside, the light is changing, and you need to record three takes in five minutes. Setting up a physical teleprompter would slow you down. A mobile app, though, lets you open your script, adjust the scrolling speed, and start recording in seconds. You can even position the text block right next to your front-facing camera so your eyes stay close to the lens.
Apps like JukoPrompt go further by adding features like manual dragging, adjustable font sizes, and even basic video recording controls. You can film, review, and export directly from your phone, no extra gear required. For creators who prioritize speed and flexibility over studio polish, this is a game-changer.
What to look for in a teleprompter app or software
Not all teleprompter software is built the same. If you’re leaning toward a software-based solution, here are the features that actually matter when you’re in front of the camera:
- Adjustable scrolling speed. Some scripts flow naturally at 120 words per minute. Others need pauses for emphasis. Look for tools that let you tweak the speed on the fly.
- Text positioning controls. The closer the text is to your camera lens, the more natural you’ll appear. Mobile apps that let you drag the prompt block near the front-facing camera give you an edge.
- Pause and resume buttons. You’ll inevitably stumble over a word or need to ad-lib. Being able to freeze the script without losing your place is crucial.
- Font and size options. A script in 12-point font might be readable on a tablet but impossible on a phone screen. Adjustable text keeps you from squinting mid-take.
- Recording integration. Some apps let you record directly within the interface. Others force you to switch apps, which breaks your flow. Integrated recording saves time and keeps your workflow smooth.
If you’re comparing JukoPrompt alternative apps, test them with your actual script. Does the scrolling feel too fast? Can you easily pause and restart? Does the text stay readable on your device? These small details add up when you’re recording multiple takes.
Multi-camera setups: Can you sync a teleprompter across feeds?
If you’re running a multi-camera teleprompter setup,for example, for a live stream or a corporate event,you’ll need more than just a single prompter. The challenge isn’t just reading the script; it’s keeping every camera’s eyeline consistent so your cuts feel seamless in post.
One approach is to use a hardware teleprompter on your main camera and a secondary monitor for your other angles. You can mirror the script across all displays so every presenter reads from the same source. Alternatively, some mobile apps allow you to sync scripts across devices via Wi-Fi or Bluetooth, ensuring everyone stays in sync even if they’re filming from different locations.
Just remember: the more cameras you add, the more complex your setup becomes. Test your workflow before going live. Record a short clip, review the eyeline on each feed, and adjust your positioning as needed. A little prep now saves a lot of frustration later.
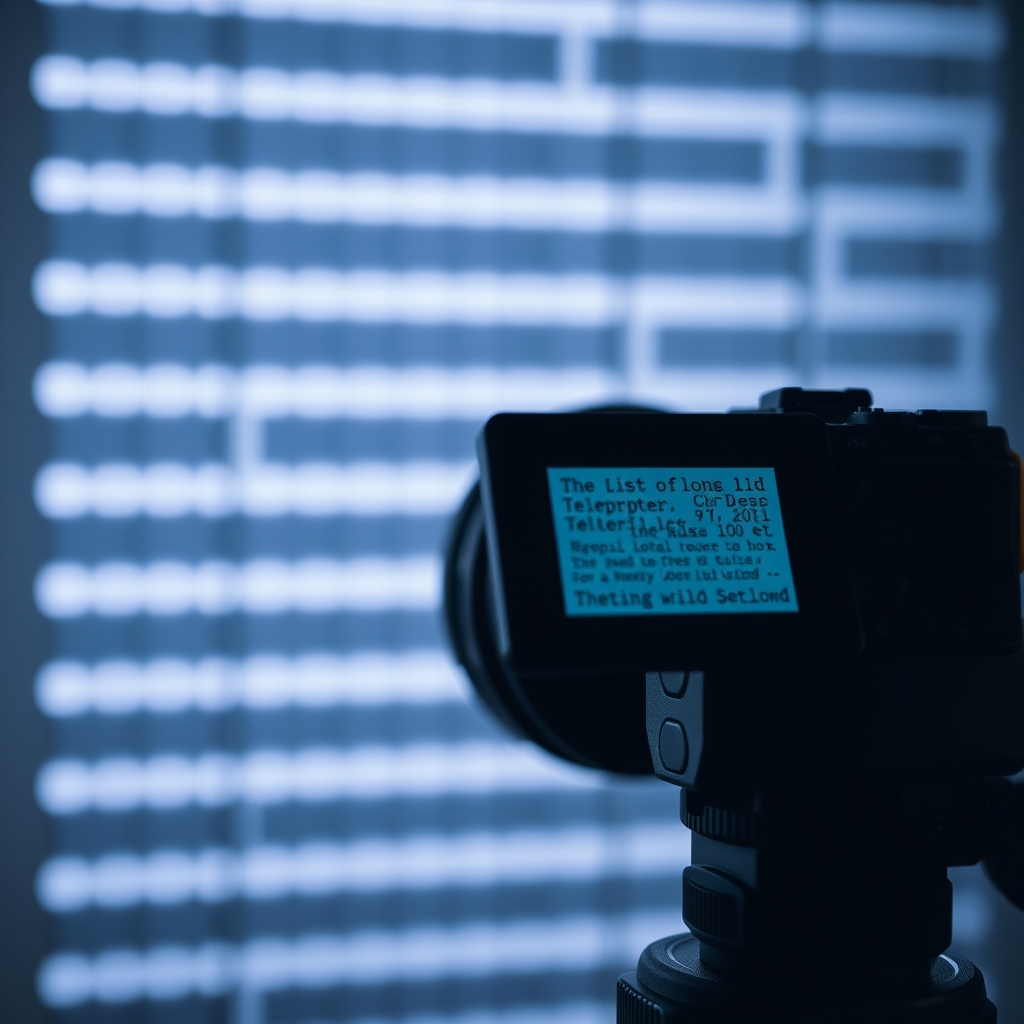
Affordable teleprompter options for creators on a budget
You don’t need a $500 teleprompter to get professional results. In fact, some of the best teleprompters for video creators cost less than a decent microphone. Here are a few budget-friendly options to consider:
- Clip-on hardware teleprompters. These attach directly to your camera’s hot shoe and use a small beamsplitter. They’re lightweight, easy to set up, and cost between $80 and $200. Great for travel content and run-and-gun filming.
- Free or low-cost software. Tools like OBS Studio with a teleprompter plugin or free web-based prompters can get you started without spending a dime. They’re not perfect, but they’re better than staring at a piece of paper.
- Mobile apps with free tiers. Apps like JukoPrompt offer free versions with basic features. If you’re just testing the waters, this is a low-risk way to see if a teleprompter fits your workflow.
The key is to start simple. If you find yourself constantly rewriting scripts or struggling with pacing, upgrading to a more advanced tool might be worth the investment. But if you’re just getting started, a free or affordable option can help you build confidence before committing to hardware.
Final tips for smoother script delivery
Even with the best teleprompter for video creators, reading a script can feel unnatural at first. Here are a few practical tips to make your delivery feel more conversational:
- Practice with the prompter first. Record a few takes without publishing them. Listen back and adjust your pacing. Do you sound like you’re reading? Are you pausing in the right places?
- Use cue cards for key points. If your script is long, jot down the main ideas on a small card. Glance at it between takes to stay on track without relying entirely on the prompter.
- Record in short segments. Instead of filming a 10-minute video in one take, break it into 2- or 3-minute chunks. This makes it easier to manage pacing and reduces the pressure of a single long take.
- Adjust your lighting. If your script is on a tablet or phone, make sure the screen is bright enough to read without straining. A dimly lit screen can force you to squint, breaking your eyeline.
Remember: the goal isn’t to sound like you’re reading word-for-word. It’s to deliver your message naturally while keeping your audience engaged. A good teleprompter helps you do that, but it’s your pacing, tone, and authenticity that will make the difference.
Choosing the right teleprompter for your needs
By now, you should have a clearer picture of which teleprompter setup aligns with your workflow. Whether you prioritize eyeline accuracy, portability, or budget, there’s a solution that fits. The best teleprompter for video creators is the one that lets you focus on your message,not on wrestling with your gear.
Take some time to test different options. Try a free app, borrow a friend’s hardware setup, or rent a clip-on prompter for a day. See how each one feels in your hands and in front of your camera. The right choice will feel seamless, almost invisible,because your audience should be focused on you, not your teleprompter.
Frequently Asked Questions
What is the difference between an on-camera teleprompter and software?
An on-camera teleprompter uses physical glass in front of your lens to reflect text, keeping your eyeline perfect. Software solutions run directly on a screen, which is more affordable but requires placing the text close to your camera lens to avoid looking away.
How do I maintain eye contact when using a software teleprompter?
To keep a natural eyeline with software, shrink the text width and move the prompt window as close to your physical camera lens or webcam as possible.
Can I use mobile apps for professional video production?
Yes. Mobile apps like JukoPrompt combine video recording with teleprompting, allowing you to adjust script scrolling speed and record high-quality video directly on your smartphone.
Which teleprompter setup fits your workflow best? Share your experience in the comments—do you prefer hardware, software, or a mobile app?




Discussion