

If you already have a camera and understand how to light a room, a real estate photography side hustle is one of the quickest ways to turn a creative skill into reliable local income in the United States. Real estate agents need listing photos weekly, and most are happy to pay a flat fee for clean, bright, MLS-ready images that help homes sell faster.
Why Real Estate Photography Works as a Side Hustle
Real estate work is built on repeat business. Each new listing means another shoot. Each sold home often leads to a referral. Unlike wedding photography, where you’re chasing a few large jobs each month, this is about steady, smaller jobs from a single local market.
Starting is also affordable. You don’t need a studio, an assistant, or top-tier gear. A decent camera body, a wide-angle lens, a tripod, and a reliable flash cover most needs.
Tip: Before investing in new gear, try shooting three listings with whatever equipment you own. It will quickly show you what you’re missing.
Essential Gear for Real Estate Photography
Choosing the Right Camera Body
You don’t need a flagship camera. Many US real estate photographers use mid-range full-frame or APS-C mirrorless systems because they handle high ISO well and offer strong dynamic range. Focus on sensor size, bracketing support, and reliable live-view autofocus instead of chasing the latest model.
Choose a camera that supports at least 3-frame auto exposure bracketing (AEB), works with a remote trigger, and has a tilting screen so you can shoot low angles without crawling on the floor.
Lenses, Tripods, and Flash
The lens does most of the heavy lifting. For full-frame, look for something around 16-35mm. On crop sensors, a 10-18mm range is ideal. These ultra-wide angles make small rooms feel open without warping walls too much.
- Tripod: Choose a stable center-column tripod rated for your total gear weight. Consistency matters since you’ll blend multiple exposures per shot.
- Flash: One or two speedlights with a wireless trigger. Ambient-flash blending softens harsh window light and fills in dark corners.
- Remote Trigger: Wired or wireless, it lets you fire the shutter without physically touching the camera during long exposures.
Accessories That Make Life Easier On-Site
Small items prevent slowdowns. Pack lens wipes for fingerprints, a compact step stool for low ceiling fans, blue painter’s tape for securing cords, and a mobile carry-all you can move between rooms without unpacking everything.
On-Site Workflow That Delivers Consistent Results
Pre-Shoot Checklist
Most issues are visible before you raise the camera. Walk the entire home first. Watch for clutter, personal items, loose cords, bathroom seats, and mirror reflections from bright windows.
- Ask the agent or homeowner to declutter and remove personal items like family photos.
- Turn on all lights so ambient and flash readings are accurate.
- Photograph exteriors early while daylight is still consistent before it changes.
Method 01: Ambient-Flash Blending
This is the classic real estate look , a bright window balanced with evenly lit interiors. You achieve this by underexposing slightly with flash, then letting the window burn in naturally. Always shoot 3-5 bracketed frames and blend later.
Method 02: Camera Positioning and Angle Control
Keep the camera around chest height, roughly 5 feet high, so vertical lines stay straight. Level each shot carefully , converging verticals get fixed in post, but starting right saves time. Work slowly through each room, starting with corner shots before finding the best hero angle.
Important: Keep horizons level and lines clean. Crooked shots are the fastest way to lose an agent’s trust.
Efficient Real Estate Photo Editing
Editing can either save hours or waste them. Having a repeatable process beats fancy software tricks every time.
- Select and cull quickly: Go through each shoot in 30 minutes or less. Drop blurry shots, duplicates, and badly framed images immediately.
- HDR blending: Stack bracketed frames in Lightroom, Photomatix, or Aurora HDR. Stick to natural presets, not overcooked effects.
- Fix white balance and verticals: Match colors across the whole shoot, correct lens distortion, and straighten vertical lines.
- Final cleanup: Replace dull skies for exterior shots, green up lawns if needed, and remove minor objects. Tell the agent if anything looks heavily edited.
In most US markets, turnaround times of same-day or next-day delivery are standard. Faster service wins more referrals.
Pricing Real Estate Photography in the US Market
Flat-rate packages based on square footage and optional upgrades are the norm in the US. They make quoting easy, help agents budget per listing, and avoid awkward hourly back-and-forth.
| Package | Property Size | Typical Deliverables | Notes |
|---|---|---|---|
| Starter | Under 1,500 sq ft | 20-25 photos, 24h delivery | Good for entry-level properties |
| Standard | 1,500-3,000 sq ft | 25-35 photos, HDR, twilight option | Popular with most agents |
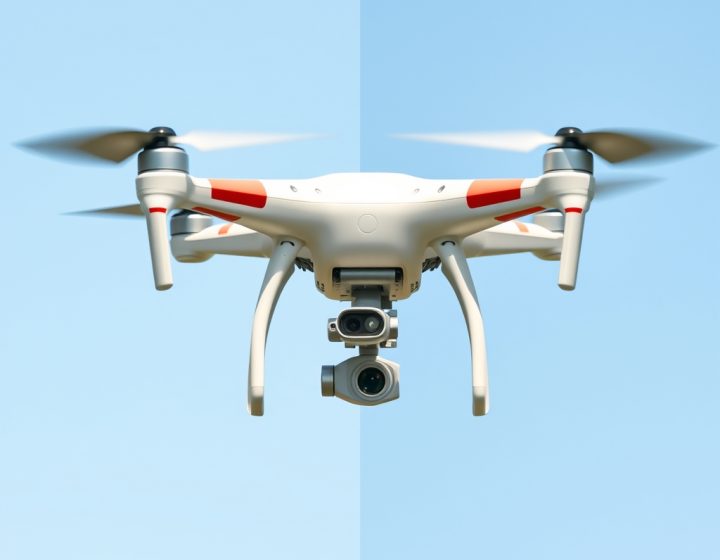
| Premium | Over 3,000 sq ft | 35-50 photos, drone aerial, video | Best for luxury homes |
| Add-ons | Any size | Drone, video, floor plan, virtual staging | Increase average job value |
In practice, real estate photography side hustle becomes clearer when you compare the options against the goal in front of you. Always check local pricing trends before listing packages. Rates differ widely between metro areas, so tailor your pricing to what agents in your area expect.

Pro Tip: Offering real estate videography is a low-effort upgrade. Even a basic gimbal walkthrough increases your average job value by 30-50%.
How to Land Real Estate Photography Clients Locally
Pitch Agents Directly
The fastest route to your first few paying clients is a 30-day agent outreach plan. Select a zip code, compile a list of 50 active agents from Zillow or Realtor.com, and send short emails or LinkedIn messages with one relevant sample shoot.
Create a Simple Local Presence
- A basic portfolio website with a contact form and sample shoots.
- A Google Business Profile optimized for your service area so nearby agents find you.
- Instagram or YouTube Shorts showing before-and-after edits; agents often reshare these.
Work With Brokerages
If two agents in the same brokerage hire you, request an intro to the office manager or marketing coordinator. Brokerage-level contracts reduce marketing pressure significantly.
Mistakes New Real Estate Photographers Make
- Too much editing: Neon skies and artificial grass distract more than they sell.
- No contract: Define usage rights, timelines, and cancellation terms upfront.
- Hourly pricing: Charging per hour penalizes efficiency. Sell deliverables instead.
- Ignoring agent branding: Adapt your style to match their listing aesthetic when possible.
Growing Beyond a Side Hustle
When you hit 8-12 shoots a month, systematize operations. Build reusable contracts, editing presets, delivery galleries, and client follow-ups. Bring on part-time help when your schedule fills up, not before. Start offering monthly listing deals to top-producing teams for predictable income.
Important: Treat this like a real small business from day one. Track mileage, gear depreciation, cloud storage costs, and quarterly taxes.
Ready to Get Started?
Select one home this week, complete the full shoot and edit cycle, and deliver a finished gallery. Let that gallery be both your first portfolio piece and your first pitch to a local agent.
Then commit to 30 days of consistent outreach, lock in a flat-rate package, and aim for two listings per week. Within three months, a real estate photography side hustle can cover a small expense, and within a year, it could grow into a full real estate videography business if you keep adding services agents need.
Frequently Asked Questions
What camera works best for real estate photography on a budget?
Any recent full-frame or APS-C mirrorless body with bracketing, a tilting screen, and solid high-ISO performance works well. Prioritize lens selection and ecosystem fit over raw price.
How much should I charge for real estate photography in the US?
Most US photographers charge flat-rate packages based on property size, photo count, and add-ons like drone or video. Always confirm current local pricing before setting your rates.
Is a drone necessary when starting out?
Not initially. Photos plus a basic video walkthrough cover most MLS needs. Drones become valuable once you target high-end homes or properties that benefit from aerial views.
How do I find clients without a portfolio?
Shoot two or three homes at reduced cost in exchange for permission to showcase them. Pair those galleries with targeted outreach to local agents and a clean Google Business listing.
Frequently Asked Questions
What is the best camera for real estate photography on a budget?
Any current-generation full-frame or APS-C mirrorless body with bracketing, a tilt screen, and strong high ISO performance works well. Choose based on lens ecosystem and budget, since the lens matters more than the body for this niche.
How much do real estate photographers charge per shoot in the US?
Most US real estate photographers charge flat-rate packages that vary by square footage, photo count, and add-ons like drone or video. Always verify current local rates in your specific metro area before publishing pricing.
Do I need a drone to start a real estate photography side hustle?
Not at the start. Photos and a simple walkthrough video are enough for most MLS listings. A drone becomes valuable once you pitch luxury homes, larger estates, or properties where an aerial shot helps marketing.
How do I get real estate photography clients with no portfolio?
Shoot two or three homes for free or at a deep discount, then use those finished galleries as your portfolio. Combine that with direct outreach to local agents and a Google Business Profile so nearby agents can find you.
Before making a decision about real estate photography side hustle, use these points to weigh the trade-offs in your own situation. Pick one home this week, complete the full shoot-and-edit process, and use the finished gallery to pitch your first local agent.







Discussion